1First launch
Open the app and tap "Get started"
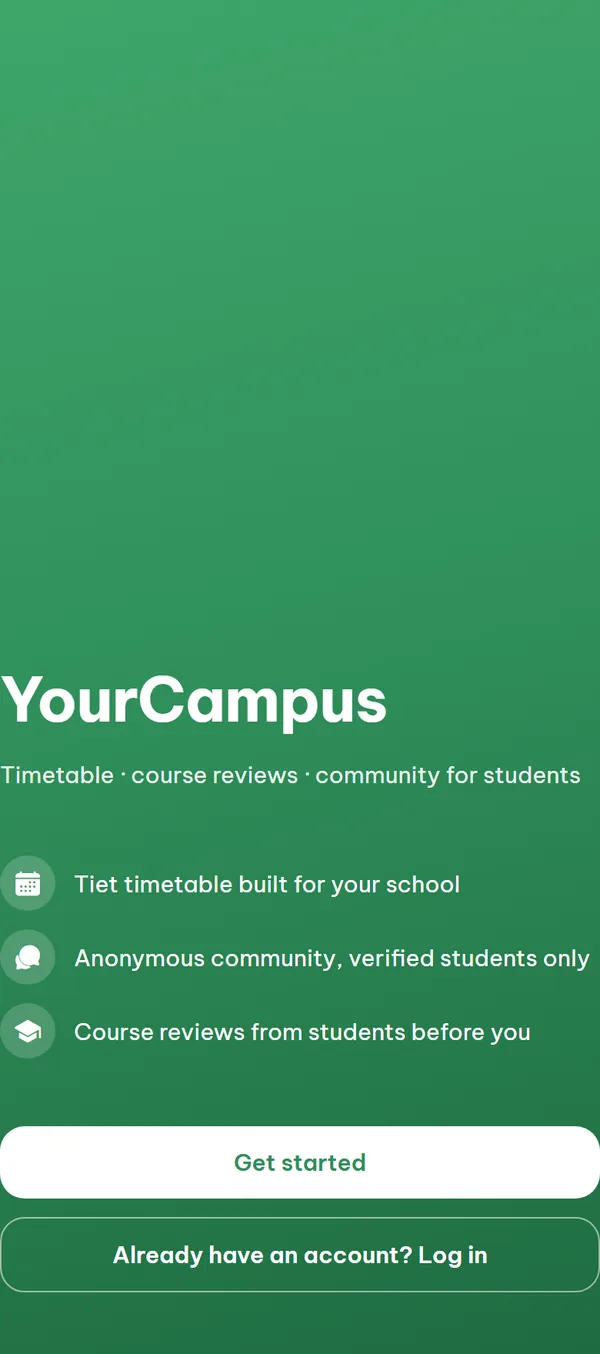
The first time you open the app you see a green welcome screen with the YourCampus name, the line "Timetable · course reviews · community for students", and the three things the app does for you. Tap the white "Get started" button to create a new account. The screens after this have no back arrow in the top bar, so you move only with the buttons inside each screen.
- Three highlights The welcome screen lists the tiết-based class timetable, the community for verified students only, and course reviews from students in the years above you.
- New here Tap "Get started" to go through language, school, and account creation.
- Coming back Tap "Already have an account? Log in" below to go straight to the login screen.
2Language
Choose your display language
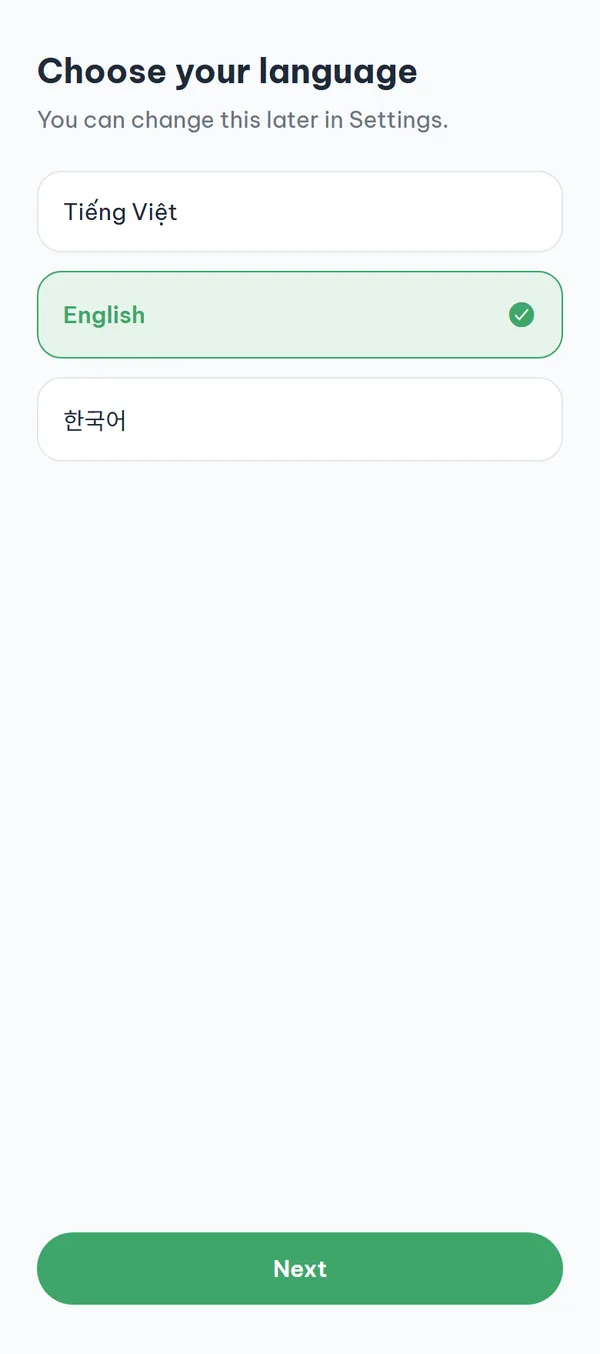
The "Choose your language" screen offers three options: Tiếng Việt, English, and 한국어. Tap a card and the wording changes right away, so you can check it before moving on. Then tap "Next".
- Applies instantly No restart needed — the text changes the moment you tap a language card.
- Change it later Later you change it from the "Language" row on the "My page" tab — the subtitle here calls it "Settings", and that's where it lives.
- The in-app list The in-app language menu lists only Tiếng Việt and English, so if you choose 한국어 here, you won't find that option again inside the app.
3School
Find and select your school
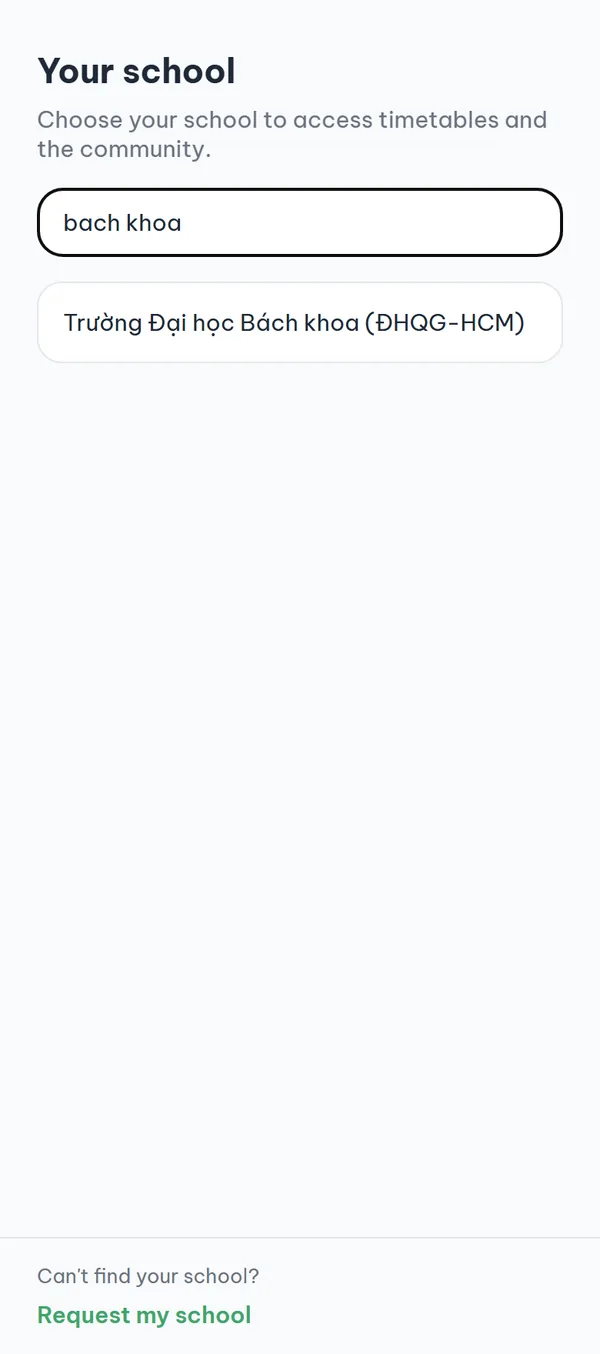
Type your school's name into "Search for your school". Typing without diacritics still finds it, and English abbreviations work too. Tap your school in the list and you move on to sign-up.
- Course data badge A school tagged "Course data available" already has course data loaded in the app.
- Open schools only The list shows only schools that are already open in the app, so some schools aren't there yet.
- A provisional choice The school you pick here is provisional — your actual school is set when your school verification goes through.
4Not listed
Request a school that isn't listed yet
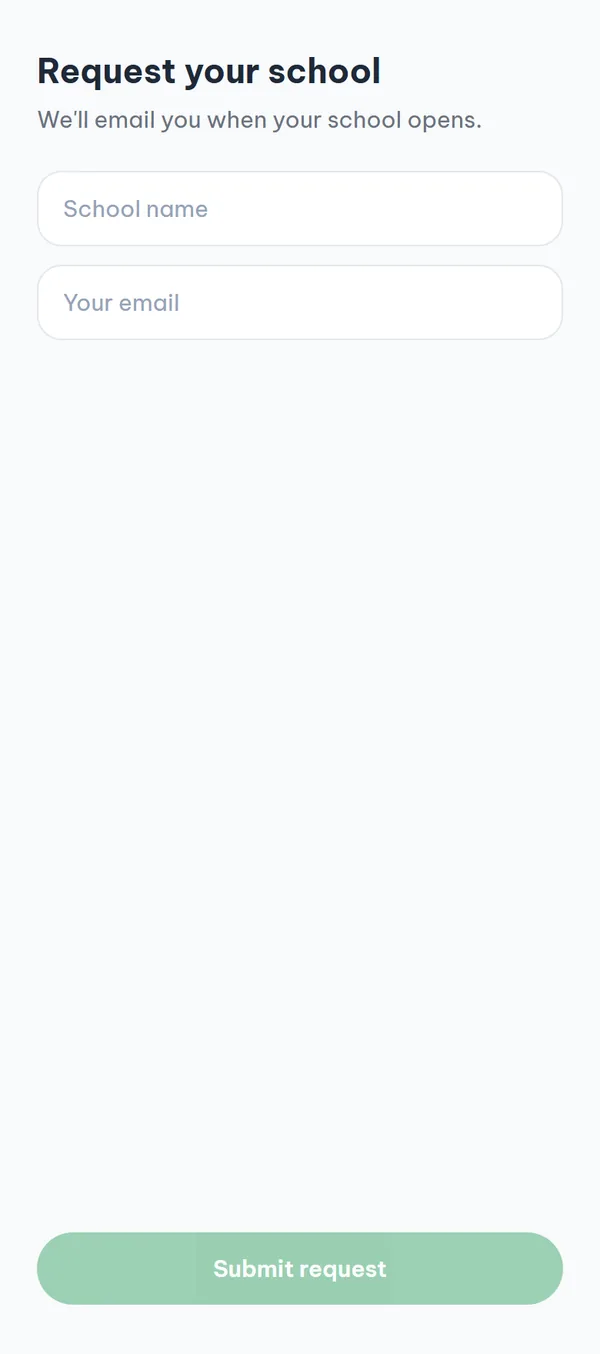
If nothing matches, the list shows "School not listed yet". The bottom of the screen always shows "Can't find your school?" with the "Request my school" link — whether or not the results are empty. Enter your school's name and your email, tap "Submit request", and the app confirms your request and emails you when your school opens.
- A valid email The "Submit request" button turns on only when the school name is filled in and the email is in a valid format.
- Duplicates are fine Sending the same school-and-email pair again doesn't create a duplicate entry.
- After you submit The "Continue as guest" button takes you back to the welcome screen rather than opening the app as a guest.
5Create account
Enter email and password, then agree to the terms
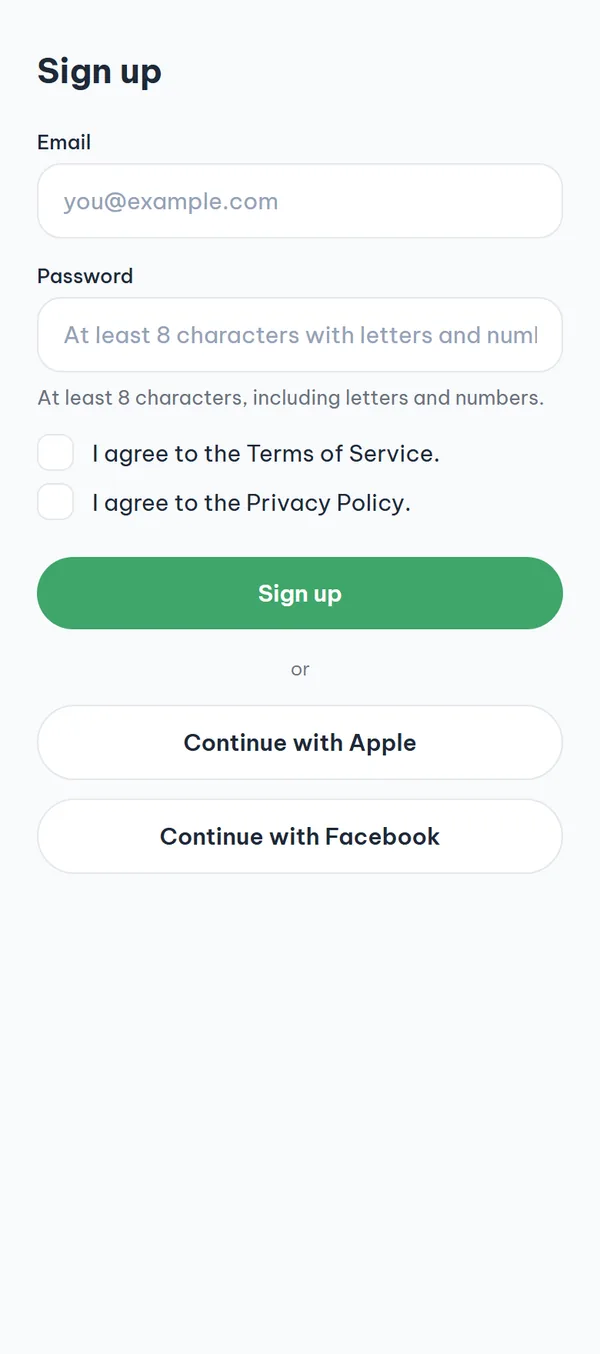
On the "Sign up" screen, enter your email and password, tick both agreement boxes, then tap "Sign up". If one is missing, the app shows "Please agree to both items above to continue." and doesn't go any further. The two agreement lines are checkboxes only — tapping them doesn't open the full documents.
- Password rule The password needs at least 8 characters and must include both letters and numbers; the rule sits under the field, and the app flags a password that misses it right there.
- Email already used If the email already has an account, the app shows "This email is already registered. Please log in." on the spot.
- On iPhone iPhone also offers Apple sign-up; tapping it before both boxes are ticked shows the consent reminder instead of opening the Apple sheet. In the real app the Apple button appears only on iPhone and there is no Facebook button — the screenshot here is the web preview.
- Separate accounts Even with the same email address, the app doesn't merge an Apple account with an email account — they stay two separate accounts.
6All set
Finish and land on your timetable
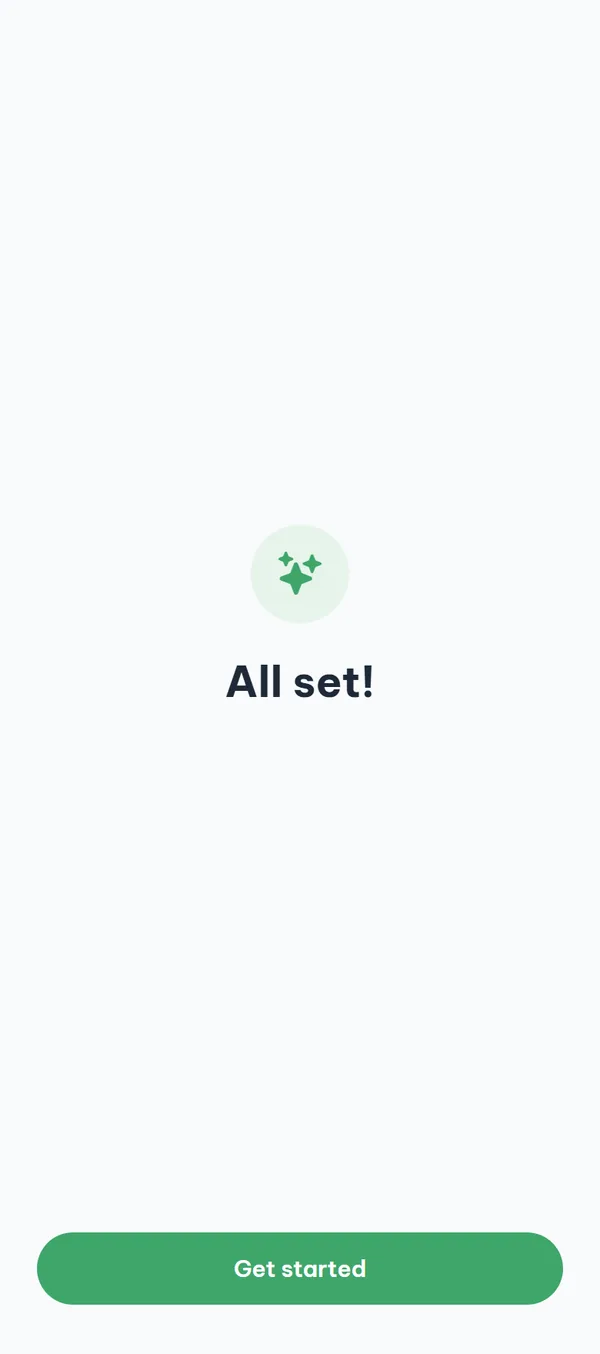
Once you've signed up, the app shows "All set!". Tap "Get started" and you're in — if you haven't verified your school yet, the app opens the timetable tab. Verification isn't forced at this point, so you can build your timetable and look up courses first.
- Available right away You can save and sync your timetable on the server and browse the course database.
- Still locked The board and market tabs, and the chat, meetings, and points screens under "My page", show only the verification screen until you verify your school.
- Temporary nickname The app doesn't ask for a nickname during sign-up, so your first display name is one the app generates for you.
To change that display name, open the "My page" tab and tap "Edit nickname".
7Verify
Verify your school with your school email
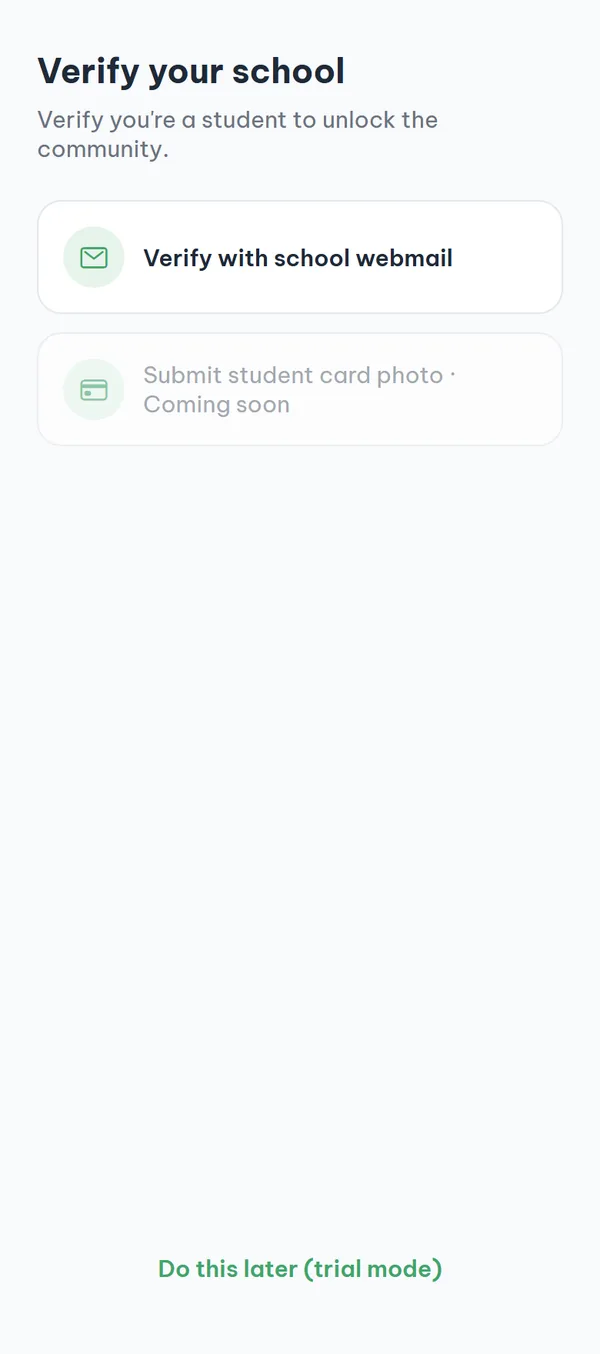
Open the board tab before verifying and the app shows "Verify your school to join the community" — tap "Verify school" in the middle. Choose "Verify with school webmail", enter your school email address, and tap "Send code". Type the 6 digits from your inbox, tap "Verify", and your school's community opens. You can also reach this screen from the "My page" tab with the "Verify school" button.
- The code expires A code is good for 30 minutes, and after 5 wrong entries it is discarded and you need a new one.
- Resend after 60s When the countdown ends the "Resend code" button becomes available; if you mistyped the address, use "Change email" to enter it again.
- Shared domain If several schools share one email domain, you pick yours from the list above the code field, and the request then goes to review, so you start in trial mode.
- You can do it later Tap "Do this later (trial mode)" and the app takes you to the completion screen in trial mode; you can come back and verify any time.
If your school's email domain isn't registered, the app says "That email domain isn't registered for this school. Use a student card instead." — but "Submit student card photo" is still marked "Coming soon", so that alternative isn't available yet.
Why there are two steps: account, then school
Signing up only creates your account. The second step — school verification — is what confirms you're a student of that school, and it's the condition for posting and commenting in the community. Here's what to know before you start writing.
- The server decides who can postOnly school-verified accounts can post, comment, react, save, and report in the community; that permission is enforced by the server, not by the app screen. Even after verifying, the first time you post or comment you'll be asked to agree to the community rules once.
- Anonymous display, kept recordsIn the community you appear under a nickname or a per-post anonymous number, but verification records and access logs are still retained as the law requires — under the Terms of Service this is not "complete anonymity".
- One school, one communityYou use only the community of the school you verified, and you can't see other schools' boards.
- Reporting and blockingYou can report or block any problematic post or user; under Decree 147/2024/ND-CP, content may be removed or blocked within 24 hours of a lawful request from a competent authority.
Frequently asked questions
What if I don't have a school email address?
Right now the only method is school email; "Submit student card photo" is still marked "Coming soon" and can't be chosen. Until then you can stay in trial mode to build your timetable and look up courses — only the community stays closed.
The 6-digit code didn't arrive.
Check your spam folder first, then wait out the 60-second countdown and tap "Resend code". If you mistyped the address, tap "Change email" and enter it again. An old code expires after 30 minutes, and each email address can request up to 10 codes a day.
What works before I verify my school?
You can save and sync your timetable and browse the course database. The board and market tabs, plus chat, meetings, and points on the "My page" tab, show the verification screen until you're verified. You can come back any time with the "Verify school" button on the "My page" tab.
I picked the wrong school during onboarding.
That's fine — the school you picked then is only provisional. Your actual school is set by the one you successfully verify with your school email, so just verify with the right school address.
I forgot my password and can't log in.
On the login screen tap "Recover account", enter your sign-up email, tap "Send confirmation code", then enter the 6-digit code and tap "Confirm and log in". This doesn't change your password — it logs you back in and signs you out of your other devices. Right after you confirm, the app opens a phone verification screen (full name, date of birth, gender, +84 number) that has no skip button. It isn't required to unlock the community — if you'd rather not verify a number, just close and reopen the app; you're already logged in.
Why doesn't sign-up ask for a phone number?
Under the Terms of Service, the app doesn't verify phone numbers right now, and it doesn't collect them either. The only step that opens the community is school verification by school email. One exception: the phone verification screen appears once right after you recover an account.
Ready to get started?
YourCampus is free for students. Download the app and verify your school to unlock everything.